Below you can find instructions on how to access TeamViewer via Mac OSX so we can access your computer.
For MacOs Monteray and below click here https://itechwa.com.au/remote-support-macos
For MacOS Ventura and above, follow these instructions
Step 1: You can download TeamViewer via the link below.
https://download.teamviewer.com/download/TeamViewerQS.dmg
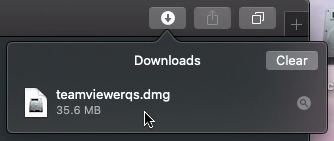
Step 2: Click the download icon or go to your downloads folder to run the file.
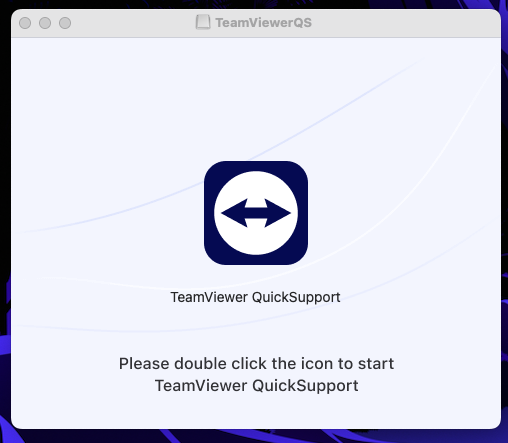
Step 3: You will now see the following screen. Double click on TeamViewer QuickSupport.
Step 4: You may receive the following message. Click Open.

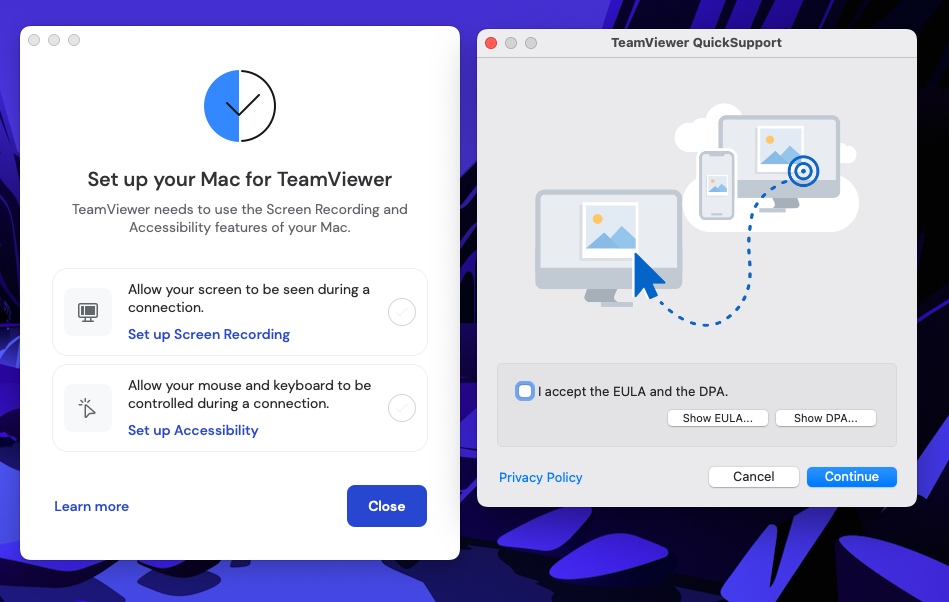
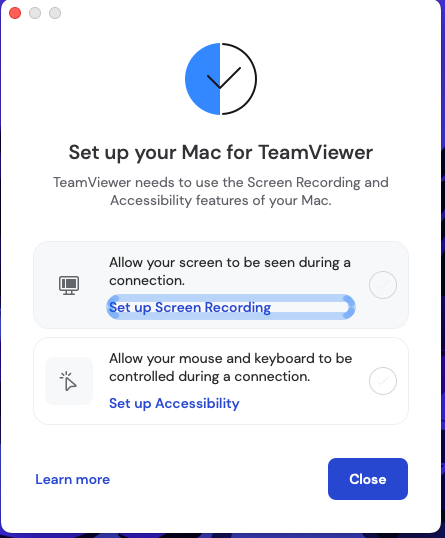
Step 5: You will now be asked to grant access to certain parts of your computer.
The first two options, Screen Recording and Accessibility, must be allowed. First, accept the EULA and DPA and click Continue
If you don’t get this screen, you can open it via Help > Check system access.
Step 6: Under Screen Recording, click Setup Screen Recording
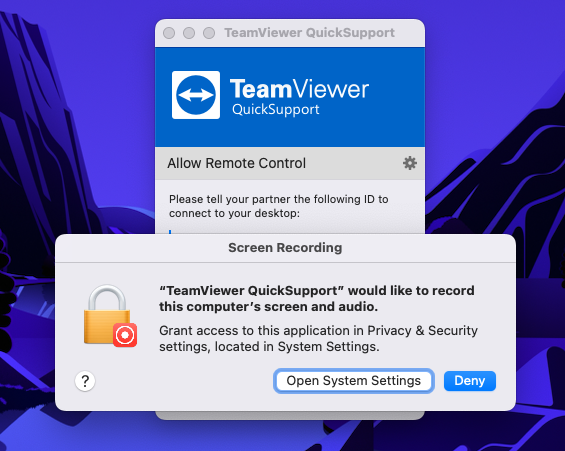
Step 7: You will see the screen below. Click on Open System Preferences.
Step 8: Check the option TeamViewer QuickSupport and allow Screen Recording by clicking on the slider
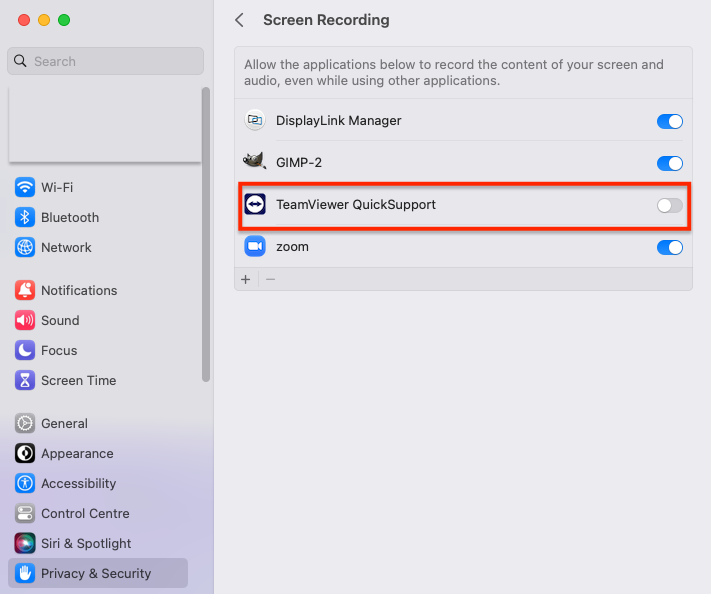
Step 9: You will be asked to restart the program. Click on Later.

Step 10: Now you can see that the status of Screen Recording is Allowed and Ticked
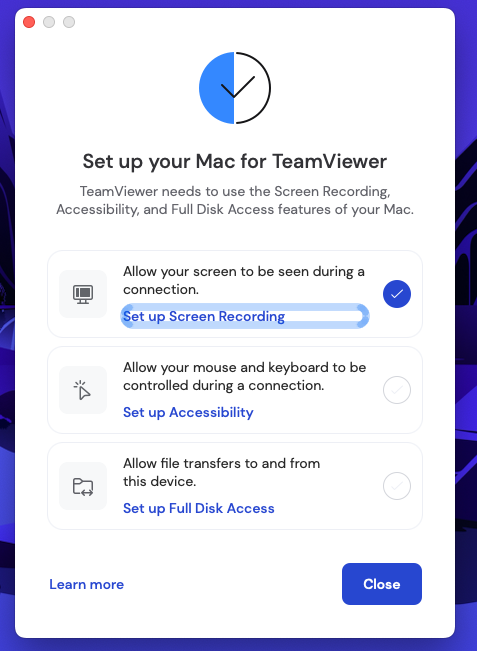
Step 11: Under Accessibility, click on the slider to allow permissions for Teamviewer

Step 12: You will Now see that Accessibity is ticked and allowed

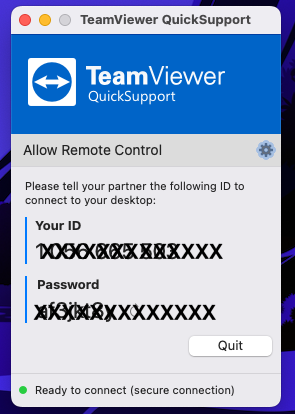
Click Close. You should now see the screen showing your ID and Password. If not Rebbot the system and launch Teamviewer from Applications